Hi,
In this tutorial, I will learn you how to
make an Apple Bar with Photoshop.
At the end of this photoshop tutorial, you will be able to do something like:

Step 1
First, Create a new document
800px * 60px with a
white background.

Step 2
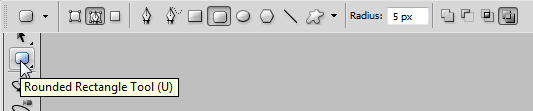
In the tools bar, choose the
Rounded Rectangle Tool(U) and in the options bar put the
radius as 5px.
Step 3
Draw a rectangle like in the following image:

Step 4
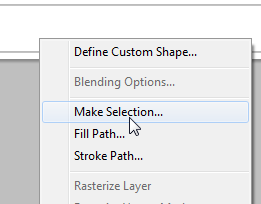
Do a
right-click then, choose
Make selection.
Step 5
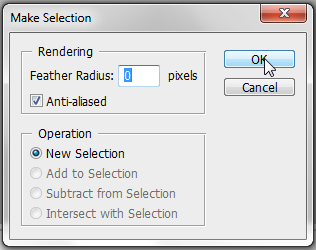
A window will open. Put the values like in the following image and click on
Ok.
Step 6
You should obtain something like that:

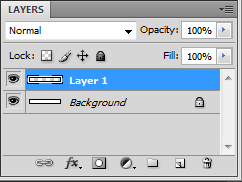
Step 7
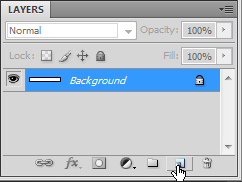
Create a new layer.
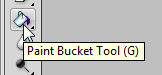
Step 8
Choose the
Paint Bucket Tool(G).
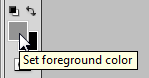
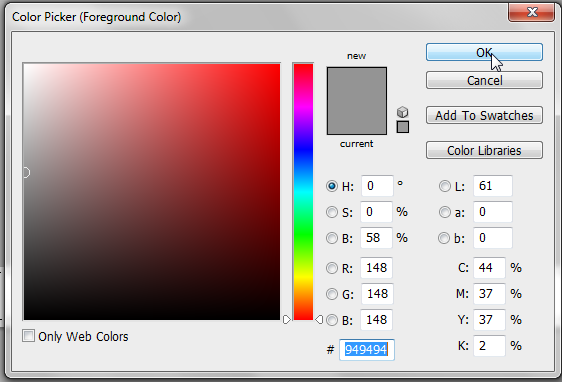
Step 9
Change the Foreground color to
#949494.
Step 10
Fill the selection with the color you have chosen.

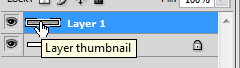
Step 11
Double-click on the layer thumbnail to access the
Layer Style.
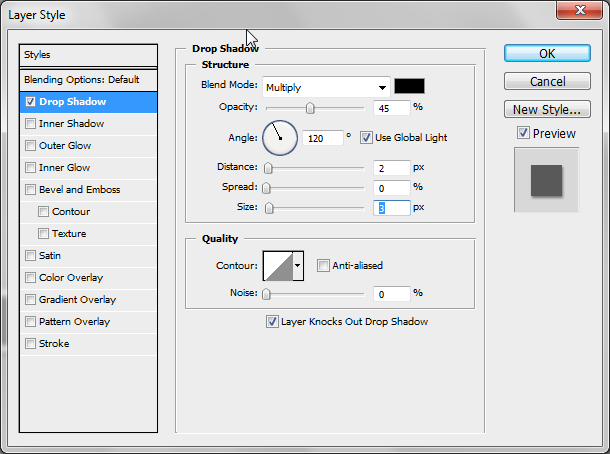
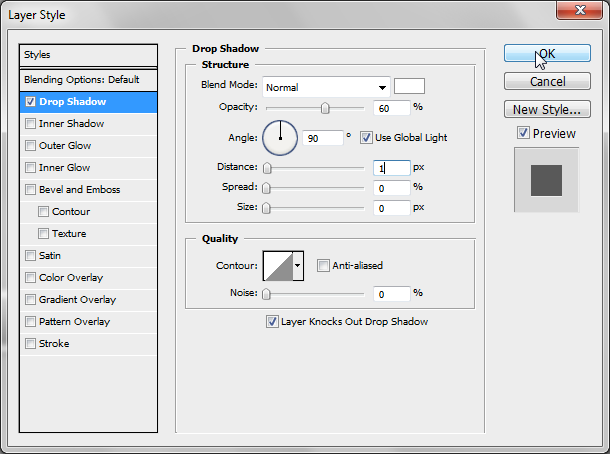
Step 12
In the
Drop Shadow tab, put the following values.
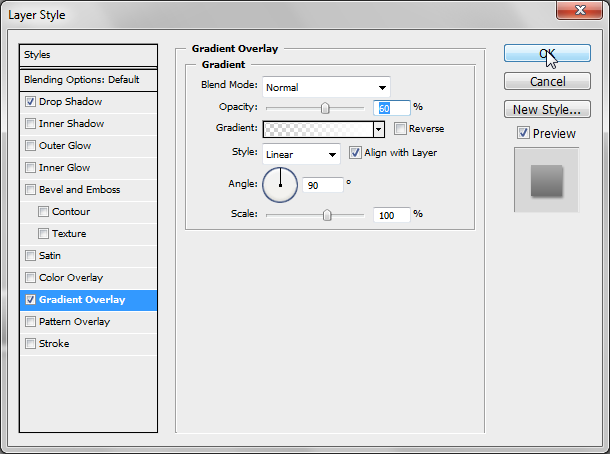
Step 13
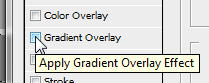
Go to the
Gradient Overlay tab.
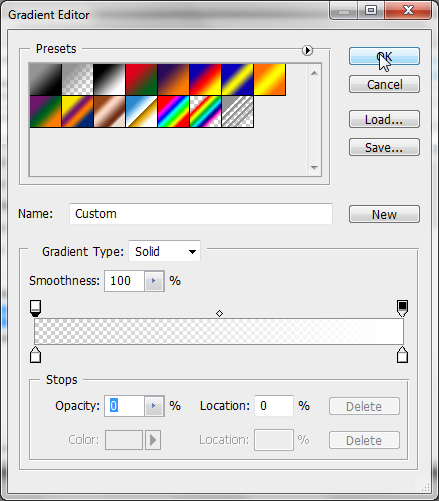
Step 14
Use a
transparent white to a
opaque white.
Step 15
In the
Gradient Overlay tab, put the following values.
Step 16
Your Apple Bar is finished, you should obtain something like:

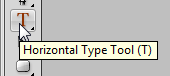
Step 17
Now, we have to add the menu titles. Choose the
Text Tools(T).
Step 18
Draw a selection like in the following image:

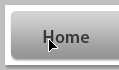
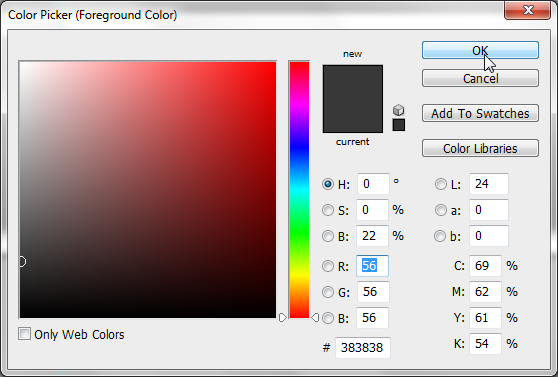
Step 19
Choose a title(For example "Home") and use the following settings(Color:
#383838):

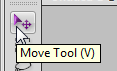
Step 20
Choose the
Move Tool(V).
Step 21
Align the text.
Step 22
Right-click on the text layer then,
Blending Options.

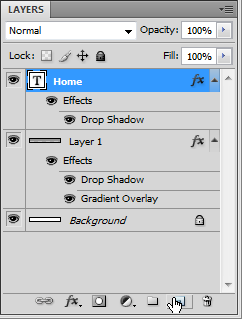
Step 23
In the
Drop Shadow tab, use the following settings.
Step 24
You should obtain something like:

Step 25
Create a new layer.
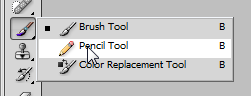
Step 26
Choose the
Pencil Tool(B).
Step 27
Use the following settings in the
Options Bar.

Step 28
Change the Foreground color to
#383838.
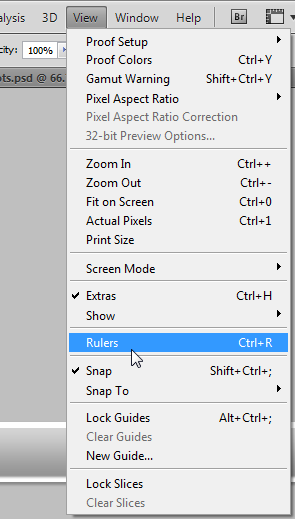
Step 29
Display the Rules by clicking on
View ->
Rules or Ctrl+R.
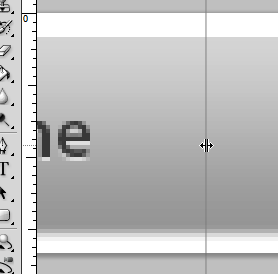
Step 30
Drag the left rule where you want to put the
separator.
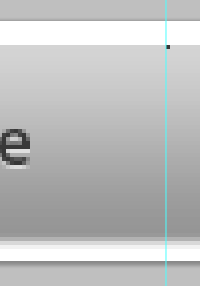
Step 31
Add a point by clicking on the top right of the guide.
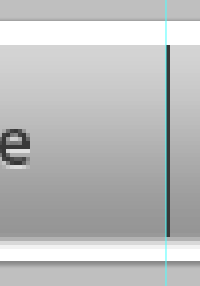
Step 32
Then, Click on the
Shift key and without releasing, click on the
bottom of the bar(in the right of the guide).
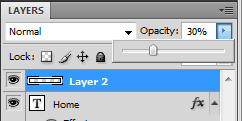
Step 33
Change the
opacity of the separator to
30%.
That's it! You finished the
Apple Bar. You only have to add the other menu titles. You should be able to do something like:
You can also improve your
Apple Bar by adding a reflect(
[Tutorial]Add a reflect to an image with photoshop):

I hope this tutorial will be useful.
Similar Scripts and Tutorials
![[Tutorial]Make an Apple Bar with photoshop](http://www.webestools.com/ftp/ybouane/scripts_tutorials/photoshop/apple_bar/img_preview.png) The 11/07/2011 at 18:21:13
The 11/07/2011 at 18:21:13![[Tutorial]Create a web 2.0 button with photoshop](http://www.webestools.com/ftp/ybouane/scripts_tutorials/photoshop/web20_buttons/img_preview.png) [Tutorial]Create a web 2.0 button with photoshop
[Tutorial]Create a web 2.0 button with photoshop
![[Tutorial]Add a reflect to an image with photoshop](http://www.webestools.com/ftp/ybouane/scripts_tutorials/photoshop/reflect/img_preview.png) [Tutorial]Add a reflect to an image with photoshop
[Tutorial]Add a reflect to an image with photoshop
![[Tutorial]Border on an image with GIMP](http://www.webestools.com/ftp/ybouane/scripts_tutorials/gimp/border/img_preview.png) [Tutorial]Border on an image with GIMP
[Tutorial]Border on an image with GIMP
![[Tutorial] Create, Export and Import Brushes on Photoshop](http://www.webestools.com/ftp/ybouane/scripts_tutorials/photoshop/brushes/img_preview.png) [Tutorial] Create, Export and Import Brushes on Photoshop
[Tutorial] Create, Export and Import Brushes on Photoshop